


Configuring a Netopia to Bridge
How to configure a Netopia DSL Modem to Bridged Mode.
You may find that the best VoIP setup is to bridge your DSL modem and use your router or router/IAD to authenticate the PPPoE connection. This tutorial will take you through the steps to bridge your Netopia modem.
The first step in configuring the Netopia DSL modem
is to gain access into the modem's interface. Open a web
browser and type the following URL address 192.168.1.254 and click on go.
You may be prompted to place a Login Username and Password. Use admin for
both username and password.
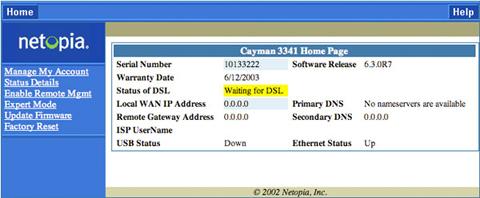
You should see the following screen displayed where you
will want to click on Home.
Next you will want to enter Expert Mode, which you
can choose from the left menu.
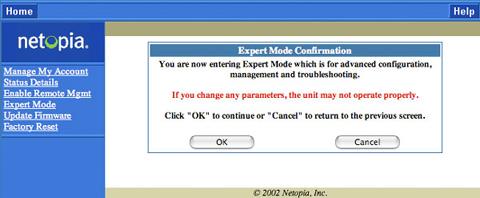
Next Click on OK.
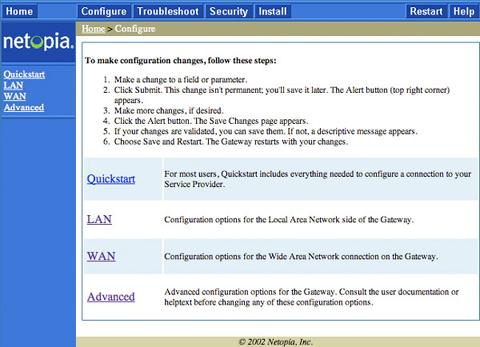
Next choose Configure from the Top Menu. Then Click on LAN.
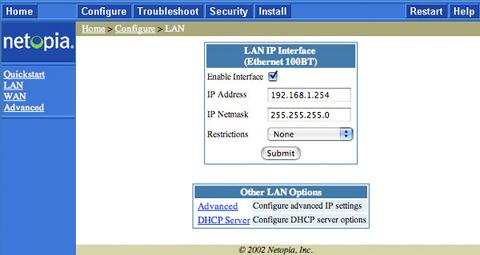
Then click on DHCP Server.
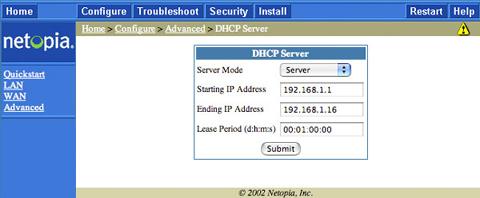
In the drop down box for Sever Mode select Off and click on Submit.